
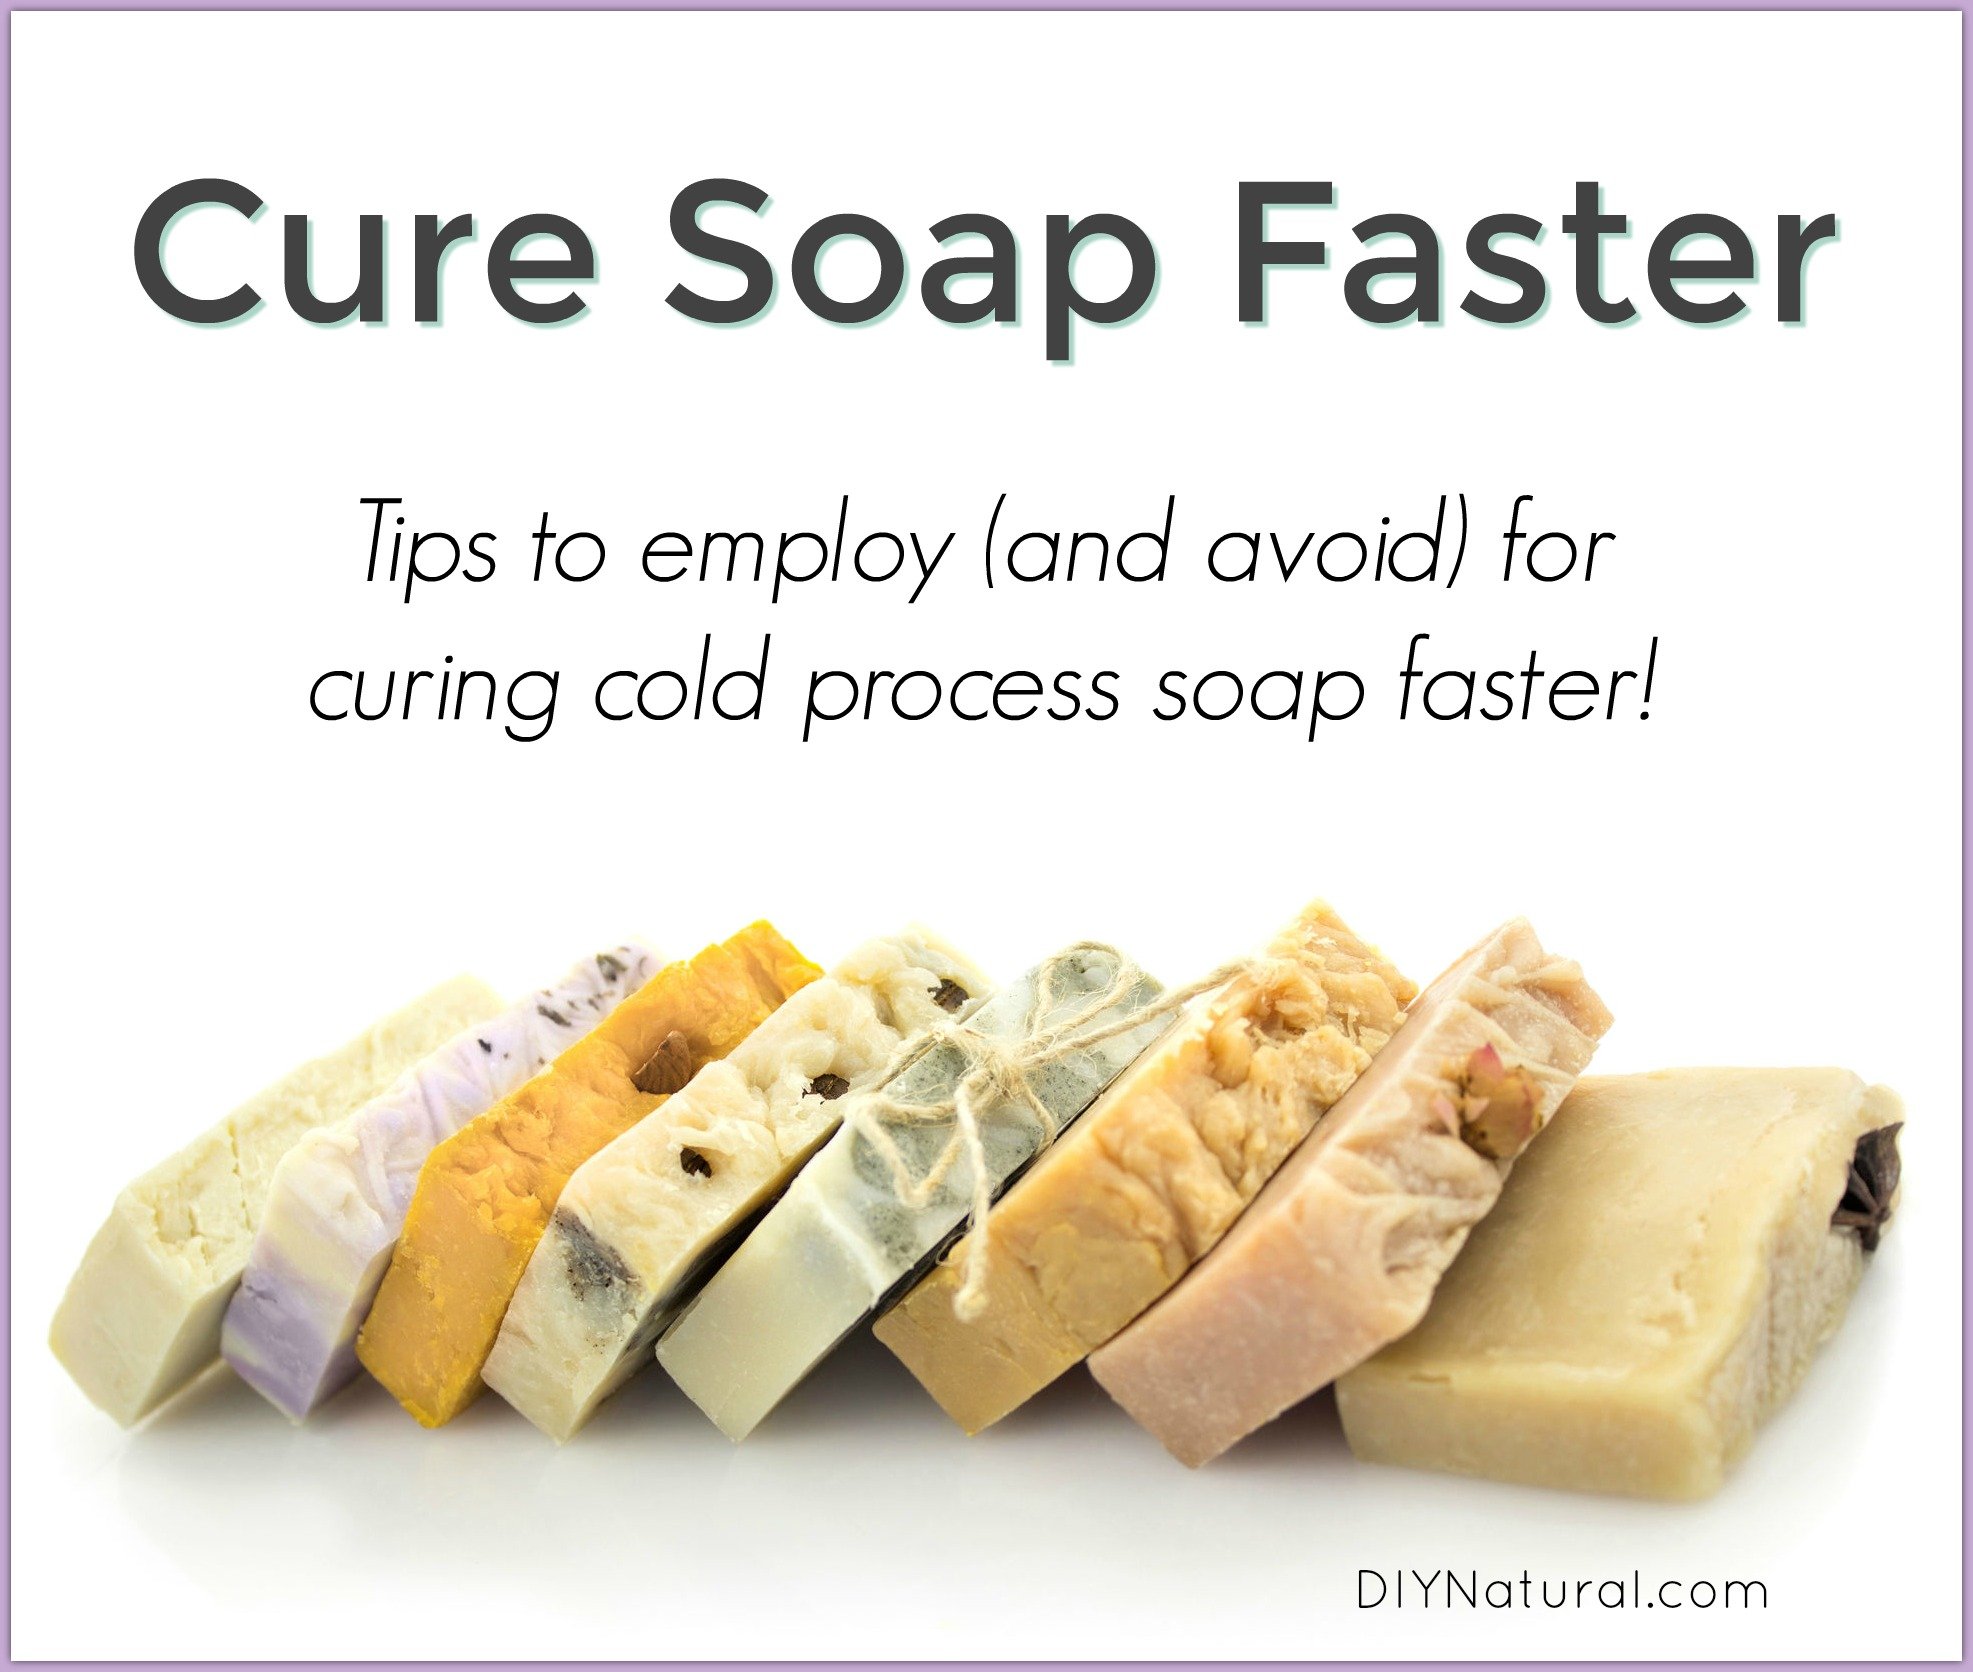
To cure soap properly, you need patience and precision. After carefully crafting a batch of luxurious soap, the curing process is essential for enhancing its quality. The art of curing soap involves allowing it to sit and dry over a period of time, resulting in a harder, longer-lasting bar that produces a rich lather. Understanding how to cure soap can elevate your handmade creations to a whole new level of perfection. Get ready to unlock the secrets of this transformative process and take your soap-making skills to the next level.

How to Cure Soap: A Complete Guide for Beginners
Welcome to our comprehensive guide on how to cure soap! Whether you’re new to soap making or a seasoned pro, understanding the curing process is essential for creating high-quality, long-lasting bars of soap. In this article, we’ll walk you through the step-by-step process of curing soap, including what it means, why it’s important, and how to do it properly. Let’s dive in!
What is Soap Curing and Why is it Important?
Soap curing is the process of allowing freshly made soap to sit and dry for a specific period, typically between 4 to 6 weeks. During this time, the soap undergoes a chemical reaction called saponification, where the oils and lye fully combine to create a gentle and effective cleansing product. Curing is crucial for several reasons:
1. Hardness and Longevity
Properly cured soap becomes harder over time, which ensures that it lasts longer when used. Cured soap produces a rich lather and maintains its shape, making it more economical and convenient for everyday use.
2. pH Balance
As soap cures, its pH level stabilizes, making it milder and gentler on the skin. This is especially important for individuals with sensitive skin who may react to freshly made soap with high lye content.
3. Scent Development
Curing allows the fragrance of the soap to fully develop and mature. Freshly made soap may have a strong chemical smell, but with proper curing, the scent becomes more pleasant and well-rounded, enhancing the overall soap experience.
Step-by-Step Guide on How to Cure Soap
Now that you understand the importance of soap curing, let’s go through the step-by-step process of how to cure soap effectively:
1. Unmolding and Cutting
After making your soap and allowing it to set in the mold for 24-48 hours, it’s time to unmold and cut it into individual bars. Use a sharp knife or soap cutter to create uniform-sized bars for even curing.
2. Air Drying
Place the freshly cut soap bars on a drying rack or a well-ventilated area with good air circulation. Avoid stacking the bars on top of each other to ensure they dry evenly on all sides.
3. Patience is Key
Allow the soap bars to cure for at least 4 weeks in a cool, dry place. The longer you let the soap cure, the harder and milder it will become. Patience is crucial during this process, as rushing the curing time can result in soft or crumbly soap.
4. Testing for Readiness
To determine if your soap is fully cured and ready for use, perform a simple pH test using pH strips. Cured soap typically has a pH level between 8-10, indicating that the saponification process is complete and the soap is gentle on the skin.
Tips for Successful Soap Curing
Here are some additional tips to ensure successful soap curing:
1. Label and Date Your Soap
It’s essential to label each batch of soap with the date it was made and the expected curing end date. This helps you track the curing progress and ensures you use the oldest bars first.
2. Keep Moisture at Bay
Avoid storing soap in humid or damp environments, as excess moisture can lead to sweating or “glycerin dew” on the soap surface. Opt for a dry location with good ventilation to prevent moisture-related issues.
3. Experiment with Fragrances
During the curing period, take the opportunity to experiment with different essential oils or fragrances to customize your soap bars. Allow the scents to mature and blend harmoniously for a delightful sensory experience.
Curing soap is a fundamental step in the soap making process that significantly impacts the quality and performance of the final product. By following the guidelines outlined in this article and exercising patience, you can create beautifully cured soap bars that are gentle, long-lasting, and fragrant. Remember, the key to successful soap curing lies in allowing time for the soap to transform and mature into a luxurious cleansing experience. Happy soap making!
Why I Don't Cure My Soap for 6 Weeks 🔥 Hot Topic Soap Curing Explained
Frequently Asked Questions
How can I cure homemade soap?
To cure homemade soap, you should place the freshly made soap bars on a drying rack in a cool, dry place with good air circulation. Allow the soap to cure for 4-6 weeks, turning the bars occasionally to ensure even drying. This process helps the soap harden and improves its quality.
Is it necessary to cure soap before using it?
Yes, curing soap is an essential step in the soapmaking process. Allowing the soap to cure for several weeks helps to evaporate excess water content, resulting in a harder, longer-lasting bar with a better lather. Cured soap is milder on the skin and performs better during use.
What happens if I don’t cure my soap properly?
If soap is not cured properly, it may contain excess moisture, which can lead to a softer bar that melts quickly during use. Uncured soap may also produce excessive alkalinity, causing skin irritation. Proper curing ensures that the soap is safe, effective, and pleasant to use.
Final Thoughts
To cure soap effectively, allow it to air dry in a cool, dry place with good air circulation for 4-6 weeks. This process allows excess water to evaporate and ensures a longer-lasting bar. Rotate the soap periodically to ensure even drying. Store cured soap in a well-ventilated area away from heat and humidity. Happy soap making and curing!